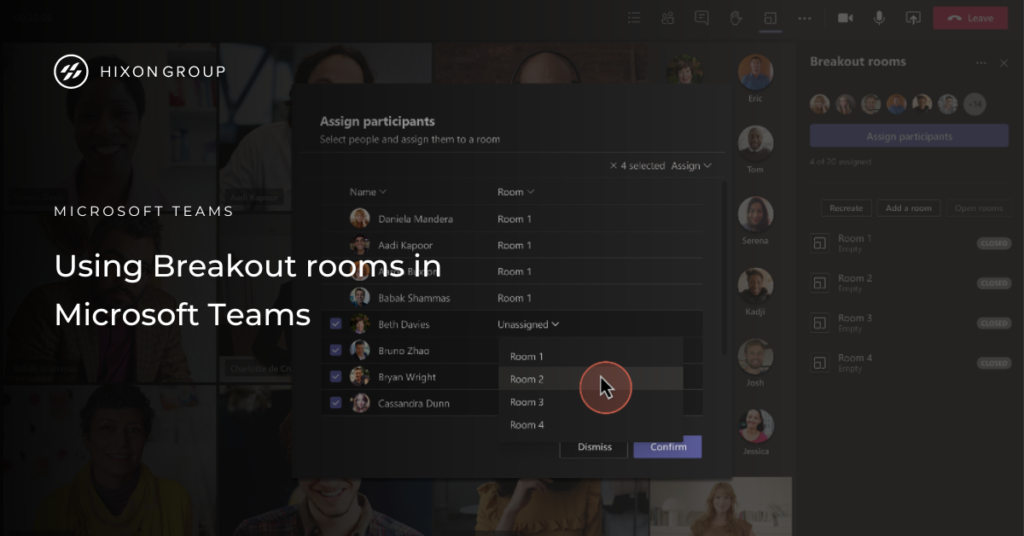
Microsoft Teams serves as an excellent virtual meeting platform, especially in the context of the increasing popularity of hybrid work. However, when faced with the necessity of discussing various topics in larger meetings, replicating the convenience of breaking into smaller groups and reconvening after 15 minutes, as seen in face-to-face meetings, can become challenging.
To tackle this hurdle, Microsoft Teams offers a solution known as “breakout rooms.” This guide aims to provide a concise overview of this functionality, including how to use it effectively and what steps to take if encountering any issues with breakout rooms during your meetings.
Overview
In Microsoft Teams, breakout rooms offer a convenient way to create sub-meeting spaces within the main meeting, allowing users to split off and engage in focused discussions, brainstorming sessions, and collaborative activities. By dividing participants into smaller groups, breakout rooms facilitate more effective communication and productivity.
Before you start
it’s essential to be aware that only the meeting organizer has the capability to set up and manage them in Teams Meetings. Both Presenters and Attendees lack the privilege to create or open breakout rooms. Additionally, breakout rooms can only be established using the Microsoft Teams desktop app on either Windows or Mac.
Participants, on the other hand, can join breakout rooms from various platforms, including Windows, Mac, mobile, or web browsers like Edge, Chrome, and others. For mobile users, it’s advisable to ensure they have the latest version of the app from the app store before joining the meeting, ensuring a smooth and seamless experience.
Create breakout rooms
As a meeting organiser you can access and do the following:
- Create up to 50 breakout rooms and choose to either automatically or manually assign participants to rooms
- Use breakout rooms for both Team and channel meetings
- Open and close rooms more than once during a session
- Move participants between rooms
You can automatically assign people to breakout rooms when you create them. If you want to move people around later in the meeting, you’ll have to do so manually.
Create breakout rooms before the meeting
The meeting organiser must first join the meeting to create or manage breakout rooms.
- Go to your Teams calendar and open the meeting invite.
- Go to Breakout rooms and select Create rooms.
- Choose the number of rooms you want (up to 50) and select Add rooms. In this example, three rooms were created but no one’s been assigned to them yet.

- Select Assign participants.
- Choose whether you want Teams to evenly assign people to rooms (Automatically) or assign people yourself (Manually).
As soon as the meeting starts, you can open the breakout rooms.
Create breakout rooms during the meeting
- Start the meeting
- In the meeting controls, select Breakout rooms

- Do the following:
– Choose the number of rooms you want (up to 50).
– Choose whether you want Teams to evenly assign people to rooms (Automatically) or assign people yourself (Manually).
- Select Create Rooms
Start using the breakout rooms
By default, meeting participants are moved to their assigned rooms as soon as you open them, but you can turn off this setting (see Turn off automatic entry to breakout rooms).
Troubleshooting issues
Microsoft Teams’ breakout rooms feature offers a valuable tool for enhancing collaboration and productivity in virtual meetings. However, like any technology, issues may occasionally arise during setup or usage. We will explore common troubleshooting steps to ensure smooth and effective breakout room experiences in Microsoft Teams.
Verify Meeting Organiser Privileges
Breakout rooms can only be created and managed by the meeting organiser, not by presenters or attendees. Ensure that the designated meeting organiser initiates the breakout room setup to avoid any accessibility restrictions.
Use the Latest Microsoft Teams Desktop App
Confirm that both the organiser and participants have the latest version of the desktop app installed to access this feature seamlessly.
Check Participants’ Platforms
Participants can join breakout rooms from various platforms, including Windows, Mac, mobile, and web browsers like Edge and Chrome. Ensure that all participants have compatible devices and up-to-date applications to enable successful engagement in breakout sessions.
Ensure Stable Internet Connectivity
A stable internet connection is essential for effective communication in breakout rooms. Encourage participants to use a reliable and robust internet connection to prevent disruptions and audio/video quality issues.
Test Audio and Video Devices
Before initiating breakout rooms, conduct a quick audio and video device check to ensure all participants’ microphones and cameras are working correctly. This step helps identify and resolve potential hardware-related problems in advance.
End and Recreate Breakout Rooms
If any technical glitches persist within the breakout rooms, the meeting organiser can end the breakout session and recreate new ones. This can resolve minor issues related to breakout room functionality.
Conclusion
Microsoft Teams breakout rooms undoubtedly elevate virtual collaboration by providing an efficient and organised way to conduct discussions and group activities. You can check out our other Micosoft Teams guides here.